post
Floor Sanding & Polishing in Australia: A Practical Guide
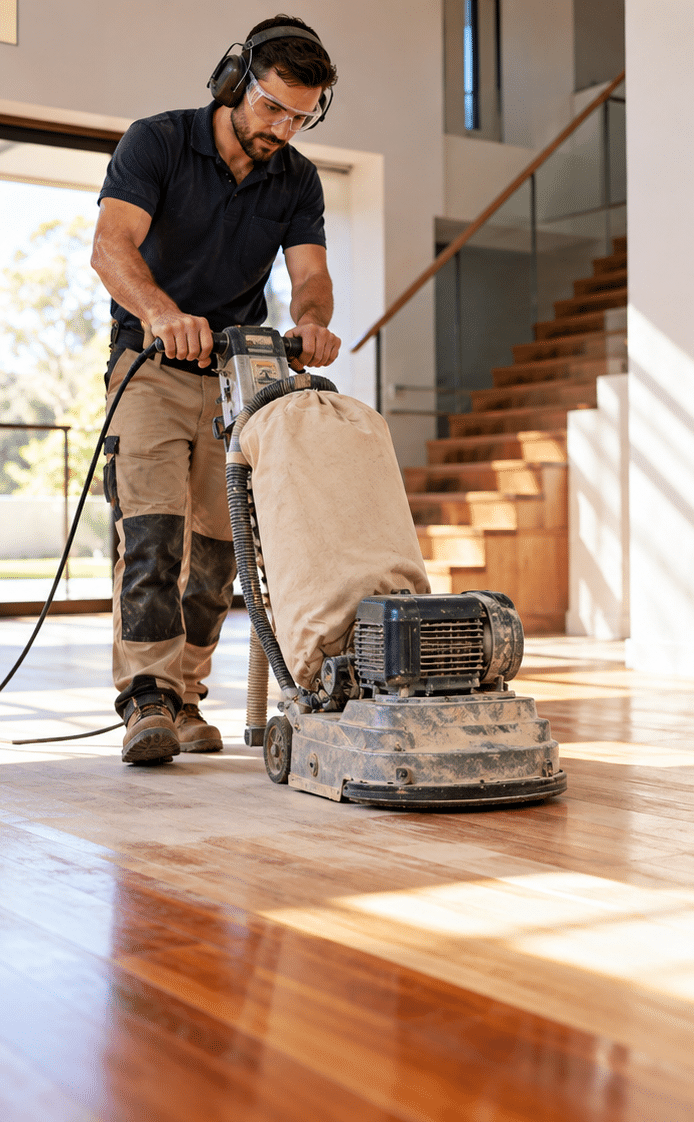
Floor sanding & polishing can transform worn, scratched or dull timber flooring without replacing the entire floor. For Australian homeowners, however, a good result depends on much more than making timber shiny. The existing coating, timber species, floor construction, moisture conditions, sanding sequence and new finish all influence the final appearance and durability.
Timber flooring is common in Australian houses ranging from older Queenslanders and heritage homes to contemporary renovations. Species such as Blackbutt, Spotted Gum and various eucalypts can also behave differently from softer imported timbers. Therefore, the restoration method needs to suit the floor rather than follow a one-size-fits-all formula.
A practical trade principle is simple: the quality of the final coating depends heavily on the preparation beneath it. Poor sanding cannot be hidden by an expensive finish. Likewise, a perfectly sanded floor can still disappoint if the wrong coating system is selected.
What Is Floor Sanding & Polishing?
Floor sanding & polishing is the process of mechanically removing worn coatings, scratches and minor surface imperfections from timber flooring, progressively smoothing the exposed wood, and then applying a protective finishing system. The new coating enhances the timber’s appearance while providing a sacrificial surface against everyday wear, spills and foot traffic.

Table of Contents
- What floor sanding and polishing actually involves
- Why timber floors need sanding and refinishing
- Sanding versus recoating: which does your floor need?
- Which flooring types can be sanded?
- The professional floor sanding & polishing process
- Choosing a timber floor finish
- Matt, satin or gloss: which sheen works best?
- Dust, fumes and indoor air quality
- Australian climate and timber movement
- Common floor sanding mistakes
- Preparing your home before work begins
- Looking after polished timber floors
- How to choose a floor sanding contractor
- People Also Ask
- Expert Q&A
- Conclusion
What Does Floor Sanding & Polishing Actually Involve?
Although Australians commonly use the phrase floor sanding & polishing, professional timber-floor restoration usually involves sanding followed by sealing or coating.
In other words, the final surface is not necessarily created by simply buffing bare timber until it shines.
The sanding stage removes old surface coatings and levels minor imperfections. Contractors then work through progressively finer abrasives. This reduces sanding marks and prepares the wood for the chosen coating.
The finishing stage may include a primer, sealer, polyurethane coating, hard-wax oil or another compatible timber-floor system.
The terminology matters because homeowners sometimes assume “polishing” means putting a quick polish over an existing surface. That may be suitable for maintenance in some situations, but it is very different from a full sand-back and refinish.
Australian industry information distinguishes between sanding back to timber and less aggressive methods such as cutting back an existing coating before recoating. The Australian Timber Flooring Association guidance on timber flooring systems also notes that AS 4786 applies to sanding and finishing solid timber and can apply to suitable raw engineered, bamboo and cork products.
Therefore, the first question should not be, “How shiny do I want my floor?”
It should be, “What condition is the timber and its existing coating actually in?”
Why Timber Floors Need Floor Sanding & Polishing
A timber floor normally does not fail simply because its surface becomes dull.
Instead, several forms of wear build up over time.
Common signs include:
- scratches across high-traffic areas;
- worn coating near doors and hallways;
- dull patches that no longer match surrounding areas;
- old stains or discolouration;
- visible traffic lanes;
- small surface dents;
- previous coatings peeling or becoming patchy;
- exposed timber where the protective finish has worn through;
- inconsistent sheen from previous repairs; and
- ageing coatings that no longer give the desired appearance.
Sanding can remove many surface-level defects. However, it cannot solve every flooring problem.
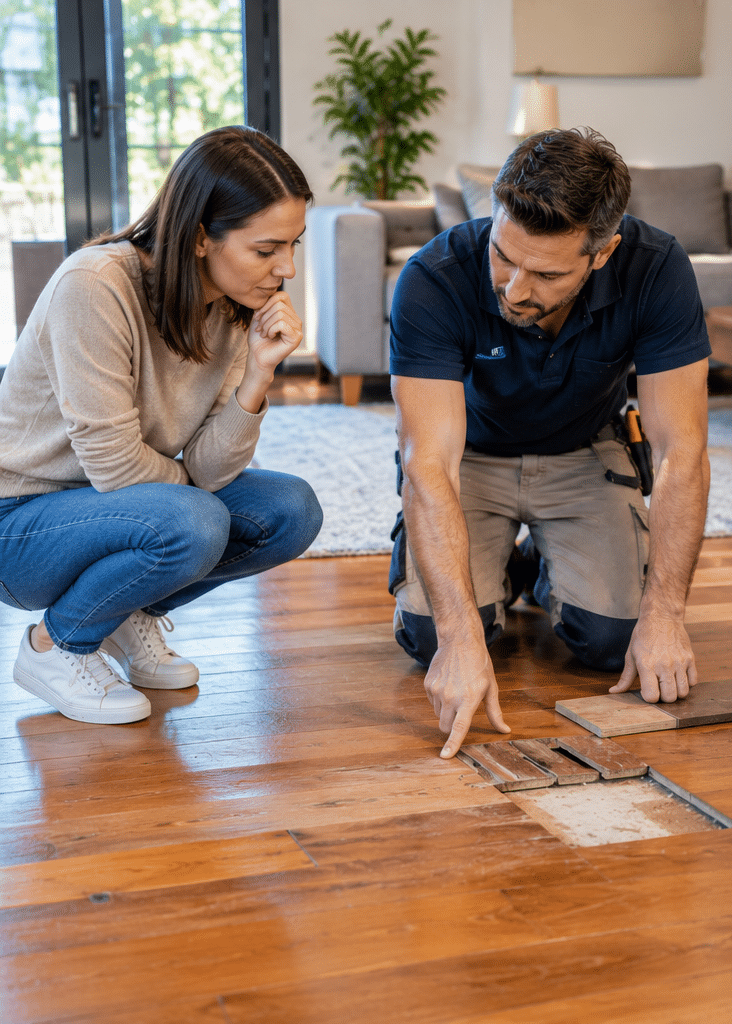
For example, deep structural movement, severely cupped boards, moisture damage, termite damage or extensive rot may require repairs before sanding begins. Similarly, deep stains may have penetrated further into the wood than it is safe or sensible to sand.
That is why an inspection is valuable before quoting a restoration job.
Why the coating matters
A floor coating acts as the main wear surface.
Shoes, chair legs, pets, dirt and grit generally contact the coating before reaching the timber underneath. Therefore, timely recoating can preserve the wood itself.
Once the protective system has worn through to bare timber, however, a more substantial restoration may be required.
Full Floor Sanding & Polishing vs Recoating
Not every dull floor needs to be completely sanded back.
This distinction can save both timber and unnecessary work.
| Condition | Likely Approach | Why |
| Finish looks dull but remains intact | Cleaning or maintenance treatment | The coating may simply be dirty |
| Minor wear with coating still present | Light abrasion and recoat | Adds a fresh protective layer without removing significant timber |
| Heavy scratching or coating worn through | Full sanding and refinishing | Exposed or damaged areas need a consistent new surface |
| Deep dents or damaged boards | Repair plus sanding | Sanding alone may not correct structural damage |
| Engineered timber with thin wear layer | Specialist assessment first | Excessive sanding could reach the core |
| Laminate flooring | Do not sand | The decorative surface is not solid timber |
A recoat usually removes much less material than full sanding.
Therefore, homeowners should not automatically wait until a timber floor looks severely damaged before arranging an inspection. Maintaining the coating earlier may extend the interval before another full sand-back is required.
Which Floors Can Be Sanded and Polished?
One of the most important parts of planning floor sanding & polishing is correctly identifying the flooring material.
A timber-looking floor is not necessarily solid timber.
Solid timber flooring
Solid timber is generally the most straightforward candidate for sanding because the board consists of timber throughout its thickness.
However, it still has a sanding limit. Tongue-and-groove flooring cannot be repeatedly sanded without eventually reducing the timber above the tongue.
Therefore, the contractor should assess the remaining sanding allowance on older floors.
Parquetry
Traditional block parquetry can usually be sanded and refinished.
However, sanding technique becomes particularly important because the timber grain runs in several directions. Poor machine control can create visible scratches across blocks.
Engineered timber
Engineered timber usually has a real timber veneer or lamella on top of a manufactured core.
Some engineered floors can be resanded. Others cannot.
The answer depends mainly on factors such as:
- wear-layer thickness;
- previous sanding;
- board construction;
- surface flatness;
- bevel depth; and
- manufacturer requirements.
Therefore, never assume that engineered flooring can tolerate the same sanding process as a thick solid board.
Bamboo
Some bamboo flooring can be refinished, although product construction and factory coatings vary significantly.
Manufacturer information should be checked first.
Laminate
Laminate is different.
Its timber appearance is produced by a decorative surface over a manufactured core rather than a sandable timber wear layer. Consequently, laminate should not be treated like solid timber flooring.
Australian timber-flooring guidance specifically states that laminate cannot be sanded, while the ability to resand engineered products depends on the thickness of their veneer or lamella.
The Professional Floor Sanding & Polishing Process
The exact method varies with the floor, machinery and coating manufacturer. Nevertheless, a quality restoration generally follows a logical sequence.
1. Inspect the floor
Before machinery starts, the floor should be assessed for:
- timber type;
- existing finish;
- loose boards;
- protruding nails;
- damaged sections;
- moisture concerns;
- gaps;
- staining;
- previous repairs; and
- remaining timber thickness.
This step prevents a contractor from treating a structural problem as a cosmetic one.
2. Remove or secure obstacles
Furniture normally needs to be removed from the work area.
Floor vents, fragile fittings and adjoining surfaces may also require protection.
3. Complete necessary repairs
Loose boards, damaged timber and exposed fasteners should be addressed before the main sanding sequence.
Otherwise, damaged areas can interfere with machinery or remain visible beneath the new finish.
4. Carry out the initial sanding
A professional floor sander removes the old finish and starts levelling the surface.
A coarser abrasive may be needed where heavy coatings, unevenness or deeper marks are present.
However, overly aggressive sanding can remove unnecessary timber. More force is not automatically better.
5. Sand edges and corners
Large floor machines cannot reach every location.
Therefore, dedicated edge sanders and smaller machines are used around skirting boards, corners, doorways and other confined areas.
Good edge work matters because poor transitions can remain visible after coating.
6. Progress through finer abrasives
The floor is gradually refined with finer sanding stages.
Skipping too many abrasive grades can leave coarse scratches behind. Once the coating highlights the grain, these scratches can become more noticeable rather than less.
7. Complete final surface preparation
The floor should be checked for:
- machine marks;
- edge-sanding differences;
- scratches;
- dust;
- filler defects; and
- missed sections.
This is one of the most important quality-control stages.
8. Remove sanding dust
Vacuum extraction and careful cleaning reduce contamination before the coating goes down.
Dust trapped in a wet finish may produce visible particles or roughness.
9. Apply the specified coating system
Depending on the selected system, the timber may receive a primer, sealer or first coat before subsequent finishing coats.
Drying and recoating intervals should follow the coating manufacturer’s instructions.
10. Allow the floor to cure
“Dry” and “fully cured” do not necessarily mean the same thing.
A coating may feel dry enough for limited access before it reaches full resistance to furniture, rugs, cleaning or heavy traffic.
Therefore, ask your contractor for product-specific instructions rather than relying on a generic timetable.
Floor Sanding & Polishing Finish Options
Choosing the finish should involve more than selecting the highest-gloss product.
The Australian Timber Flooring Association explains that coating selection involves balancing appearance, wear performance, maintenance, application characteristics and environmental or health considerations. Its timber floor coating guidance describes several coating families, including penetrating oils, hard-wax oils, oil-modified urethanes and both solvent- and water-based polyurethane systems.
Here is a simplified comparison.
| Finish Type | Typical Character | Key Considerations |
| Water-based polyurethane | Clearer, often lighter timber appearance | Generally lower solvent fumes; performance differs by product |
| Solvent-based polyurethane | Strong colour enhancement and robust film | Higher VOC levels and stronger application fumes |
| Hard-wax oil | Natural, understated appearance | Easier localised maintenance with some systems, but maintenance needs may be higher |
| Penetrating or curing oil | Highlights timber character | May need more ongoing care and product-specific maintenance |
| Oil-modified urethane | Warmer appearance | Characteristics sit between traditional oils and polyurethane systems |
No coating is universally “best”.
For example, a family may prioritise lower odour and a natural colour. Meanwhile, a commercial venue may place greater emphasis on traffic resistance and maintenance scheduling.
Therefore, specify the outcome you need rather than choosing only by product category.
Questions worth asking include:
- How much foot traffic does the room receive?
- Are pets present?
- Do you prefer natural timber colour or a warmer amber tone?
- How much ongoing maintenance are you comfortable with?
- Do you want matt, satin or gloss?
- What are the manufacturer’s cure times?
- Is the coating suitable for the timber species?
- How will future recoating be handled?
Matt, Satin or Gloss?
Sheen changes how the same timber appears.
Matt
Matt finishes reflect less light.
As a result, they can create a contemporary and natural appearance. They may also make some small scratches or surface variation less visually obvious.
Satin
Satin sits between matt and gloss.
For many homes, this provides a practical balance between visible grain, moderate reflection and everyday appearance.
Gloss
Gloss produces stronger reflections and can make timber colours look rich and dramatic.
However, strong reflections may also highlight dust, scratches, sanding imperfections and wear patterns more clearly.
Therefore, the most reflective finish is not automatically the highest-quality choice.
The right sheen is mainly an aesthetic and practical decision.
Dust Control During Floor Sanding & Polishing
Sanding timber inevitably generates dust.
Modern extraction systems can reduce airborne material substantially, but “dust controlled” should not be interpreted as a literal guarantee that no dust will exist anywhere.
From a workplace-safety perspective, this matters.
Safe Work Australia identifies sanding some types of wood as an activity that can create hazardous airborne material. Its guidance on controlling workplace dust recommends controls such as local exhaust ventilation, on-tool extraction, adequate ventilation and appropriate personal protective equipment where required.
For homeowners, practical questions to ask include:
- Does the sanding equipment have integrated extraction?
- How will adjoining rooms be isolated?
- How will dust be collected and removed?
- Will air-conditioning systems need protection?
- What cleaning is completed before coating?
Good dust management improves both site cleanliness and coating preparation.
Low-VOC Does Not Mean “No Chemicals”
VOC stands for volatile organic compound.
These compounds can evaporate into the air from various products, including some coatings and solvents.
Water-based timber-floor coatings are often selected where lower solvent emissions, quicker clean-up or reduced odour are priorities. However, the phrase “water based” should not be interpreted as meaning a coating contains nothing potentially hazardous.
Similarly, “low VOC” does not mean “zero VOC” unless a specific verified product specification says so.
Therefore, homeowners who are particularly sensitive to odours or who have specific indoor-air concerns should ask for:
- the exact product name;
- its technical data sheet;
- its safety data sheet;
- recommended ventilation;
- re-entry instructions; and
- full curing guidance.
This is much more useful than relying solely on broad claims such as “eco-friendly”.
Australian Climate, Moisture and Timber Movement
Timber is hygroscopic. In simple terms, it exchanges moisture with the surrounding environment.
As humidity changes, timber may gain or lose moisture. Consequently, boards can expand or shrink slightly.
This behaviour is particularly relevant in Australia because indoor conditions vary considerably between regions.
A humid Queensland summer is different from a heated Melbourne interior during a cool winter. Likewise, air-conditioning and direct sunlight can create local conditions that differ from the outdoor weather.
That does not mean timber flooring is unsuitable for changing climates. Rather, natural movement needs to be allowed for during installation and considered during restoration.
Why moisture should be investigated before sanding
Suppose a floor is cupping because moisture is entering from below.
Simply sanding the raised edges may make the surface appear flatter temporarily. However, if the moisture condition later changes, the boards can move again and create a different profile.
Therefore, unexplained movement, significant cupping or dampness should be investigated before aggressive sanding begins.
Floor sanding & polishing should restore a stable floor, not hide an unresolved moisture problem.
How Australian Timber Species Affect Sanding
Australia has many dense hardwood flooring species.
Examples include:
- Blackbutt;
- Spotted Gum;
- Ironbark;
- Brushbox;
- Tasmanian Oak; and
- various eucalypts.
Different species vary in hardness, grain pattern, colour and reaction to coatings.
Dense hardwoods may require different machine settings and abrasive approaches from softer timber. Furthermore, stains and clear finishes can alter different species in different ways.
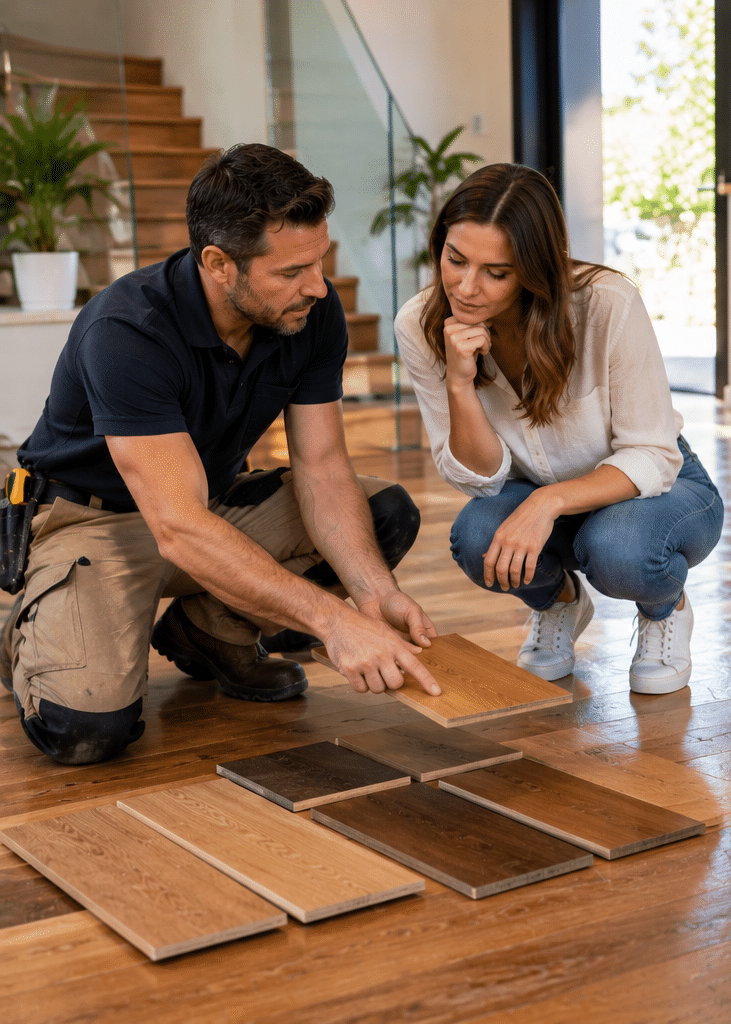
That is why samples can be useful when changing colour.
A stain that looks attractive on an online photograph may look different on your floor because of:
- species;
- board age;
- previous UV exposure;
- grain variation;
- sanding quality; and
- topcoat choice.
Where colour is important, ask whether a small sample area can be prepared before committing to the entire floor.
Seven Common Floor Sanding & Polishing Mistakes
1. Sanding before solving moisture problems
Cupping and movement can have underlying causes.
Therefore, determine why the boards have moved before removing timber.
2. Using an unnecessarily coarse abrasive
Coarse sanding removes material quickly but can leave deep scratches.
A responsible sanding sequence removes only what is needed.
3. Skipping grit stages
Large jumps between abrasive grades can leave scratches that finer passes fail to remove.
4. Poor edge blending
The main floor and perimeter must visually blend after coating.
Otherwise, different scratch patterns may appear in reflected light.
5. Coating over contamination
Dust, oils, silicone, cleaning residues or incompatible previous products can interfere with adhesion or appearance.
6. Choosing a finish only because it is “hard”
Durability matters, but so do maintenance, timber movement, repairability, odour and visual expectations.
7. Returning furniture too early
A floor can feel dry while the coating is still curing.
Heavy furniture, rugs or aggressive cleaning too soon may compromise a fresh finish.
Numbered Homeowner Checklist Before Floor Sanding & Polishing
Use this checklist before work begins:
- Confirm the flooring material. Determine whether it is solid timber, engineered timber, parquetry, bamboo or another product.
- Discuss existing damage. Identify deep stains, loose boards, moisture damage and previous repairs.
- Ask what level of sanding is required. Confirm whether the project needs a full sand-back or could be recoated.
- Choose the finish system. Compare water-based polyurethane, oils and other suitable options.
- Choose the sheen. Decide between matt, satin and gloss after considering both appearance and maintenance.
- Request product details. Obtain relevant technical and care information for the proposed coating.
- Discuss dust management. Ask how dust extraction and site isolation will work.
- Confirm furniture arrangements. Find out what must be removed before the contractor arrives.
- Plan access. Ask when the floor can receive light foot traffic, normal foot traffic, furniture and rugs.
- Discuss maintenance. Know which cleaners and methods are recommended after completion.
- Check the scope in writing. Ensure repairs, sanding, coating system, number of coats where applicable and exclusions are clearly documented.
- Keep the coating details. Future contractors will benefit from knowing exactly what was applied.
Preparing Your House for Floor Sanding
Good preparation reduces delays.
Where possible, remove furniture completely rather than shifting it from one side of the room to another.
You may also need to consider:
- curtains close to the floor;
- electronic equipment;
- fragile objects;
- food preparation areas;
- pets;
- access routes;
- adjoining rooms;
- air-conditioning return vents; and
- planned trades working nearby.
Painting, cabinetry and other renovation activities should also be coordinated carefully.
For example, there is little value in creating a newly finished timber floor and then allowing another trade to drag equipment across it.
Therefore, flooring should be integrated into the wider renovation schedule rather than treated as an isolated job.
What Should a Finished Timber Floor Look Like?
Homeowners sometimes expect an onsite-refinished timber floor to have the exact uniformity of a factory-manufactured surface.
That is not always realistic.
Timber is natural. Colour, grain and board character vary. An older floor may also contain nail holes, historic repairs, filled areas and colour changes caused by sunlight.
Moreover, onsite sanding and coating occur inside a building rather than a controlled factory.
The goal should be a professionally prepared and visually consistent floor, not an artificial expectation that natural timber will become perfectly identical from board to board.
Viewing conditions matter as well. Extremely low-angle sunlight can exaggerate tiny surface variations that are far less noticeable under normal use.
Discuss expectations before the project starts, especially when restoring heritage or heavily worn timber.
Maintaining Floors After Sanding and Polishing
The work does not end when the contractor leaves.
Good maintenance can help protect the coating and delay more intensive restoration.
Control grit
Sand and small particles act like abrasives under shoes.
Therefore, use entrance mats and clean the floor regularly.
Use furniture protection
Fit suitable protective pads beneath chair and furniture legs.
Replace them when they become worn or contaminated with grit.
Clean spills promptly
Timber and excessive moisture are a poor combination.
Wipe spills promptly instead of allowing water to sit on the surface.
Avoid excessively wet mopping
A lightly damp cleaning method is generally more appropriate for coated timber than flooding the floor.
Follow the coating manufacturer’s instructions.
Use compatible cleaning products
Avoid assuming that a general-purpose household chemical is safe for a timber-floor finish.
Products that leave residues may also make future recoating more difficult.
Watch high-traffic zones
Doorways, kitchens, corridors and frequently used living areas tend to show wear first.
Early attention may make recoating possible before bare timber becomes exposed.
How Often Is Floor Sanding & Polishing Needed?
There is no accurate Australia-wide interval that applies to every floor.
A lightly used bedroom may age very differently from:
- a busy family living room;
- a home with large dogs;
- a restaurant;
- a school hall; or
- an indoor sporting venue.
The coating system also matters.
Therefore, condition is a better guide than an arbitrary number of years.
Signs that an assessment may be worthwhile include:
- significant dulling;
- coating thinning in walkways;
- scratches through the finish;
- exposed timber;
- increased difficulty cleaning worn areas; and
- obvious contrast between protected and traffic-exposed areas.
Importantly, a floor may need only recoating rather than complete floor sanding & polishing if the protective layer has not been allowed to wear through.
How Long Does Floor Sanding & Polishing Take?
Project duration depends on factors such as:
- floor area;
- condition;
- repairs;
- existing coatings;
- timber species;
- staining requirements;
- coating type;
- number of application stages;
- drying conditions; and
- site access.
Therefore, be cautious with any universal promise that every timber floor can be completed in exactly the same period.
Dry weather does not automatically guarantee faster coating either. Temperature and humidity can affect individual products differently.
The most reliable schedule is the one based on your actual site and the coating manufacturer’s specified drying and curing conditions.
How Much Does Floor Sanding & Polishing Cost in Australia?
Prices vary too much by property and region for a single national figure to be reliable.
The final quotation may depend on:
- square metres;
- floor condition;
- timber type;
- accessibility;
- edge and stair work;
- repairs;
- nail punching;
- staining;
- coating system;
- number of rooms;
- furniture movement; and
- travel or site requirements.
Consequently, comparing quotations only by a per-square-metre figure can be misleading.
Compare the scope as well.
For example, ask whether each quotation includes the same preparation, repairs, edge work, finish system and number of coating stages.
A cheaper quote for a different scope is not a true like-for-like comparison.
Choosing a Floor Sanding & Polishing Contractor
A useful quotation should help you understand what will happen to your floor.
Consider asking:
What type of floor do I have?
A contractor should be able to explain whether it is solid timber, parquetry or another product and identify limitations where necessary.
Why are you recommending a full sand rather than a recoat?
The answer should relate to the actual coating condition.
What sanding process will you use?
You do not need to become a flooring technician, but the contractor should be able to explain the sequence in plain language.
How is dust controlled?
Ask about extraction and site preparation.
Which coating is proposed?
Get the actual system, not just a vague description such as “premium polish”.
What sheen will I receive?
Matt, satin and gloss create visibly different results.
When can I walk on the floor?
Also ask separately about furniture, rugs, pets and cleaning.
What maintenance products should I use?
Keep this information for future care.
A strong contractor-client discussion reduces uncertainty before any timber is removed.
People Also Ask About Floor Sanding & Polishing
Is floor sanding and polishing worth it?
It can be worthwhile when the existing timber is structurally sound but its surface is scratched, dull or worn. Sanding can expose fresh timber and allow a new protective finish to be applied, avoiding unnecessary replacement of a reusable floor.
Can you sand and polish old timber floors?
Often, yes. However, the contractor should first check remaining board thickness, previous sanding, damage, moisture problems and the condition of tongue-and-groove flooring before determining how aggressively it can be sanded.
Does floor sanding remove all scratches?
It can remove many scratches that are confined to the surface or upper timber layer. Very deep gouges may remain partly visible or require repair because removing enough timber to erase them completely could be inappropriate.
Can engineered timber flooring be sanded?
Some engineered flooring can be sanded, but not all. The real timber wear layer must be thick enough, and the manufacturer’s requirements, previous sanding and floor flatness should be considered before work begins.
Is floor sanding completely dust free?
No sanding process should be assumed to produce literally zero dust. Modern extraction can greatly control dust at the source, but sensible isolation, extraction and cleaning practices are still important.
Expert Q&A: Floor Sanding & Polishing
1. Should gaps between timber floorboards be completely filled before sanding?
Not automatically. Timber naturally expands and contracts as moisture conditions change, so some gaps may be seasonal movement rather than defects requiring permanent filling. The contractor should evaluate the floor type, gap size, movement pattern and proposed filler before deciding how to treat them.
2. Can I change my timber floor colour during refinishing?
In many cases, yes. Stains, tints and certain coating systems can alter the appearance. However, timber species, existing stains and natural colour variation influence the outcome, so a sample is valuable before treating an entire floor.
3. Why can sanding marks appear only after the coating is applied?
Bare timber can hide subtle scratch patterns. Once a coating changes light reflection and highlights the grain, inconsistent sanding may become easier to see. That is why progressive abrasive stages and careful final inspection are important.
4. Should I replace a badly worn timber floor instead of sanding it?
Not necessarily. Surface wear can look severe even when the boards remain structurally sound. Replacement becomes more relevant when there is extensive rot, serious structural damage, inadequate remaining timber thickness or another problem that refinishing cannot reasonably correct.
5. What information should I keep after my floor has been refinished?
Keep the coating manufacturer, product name, sheen, colour or stain details, completion date and maintenance instructions. This information becomes especially useful when the floor eventually needs compatible cleaning, repairs or recoating.
Conclusion: Restore the Timber, Not Just the Shine
Good floor sanding & polishing is primarily a preparation and protection process.
Sanding removes damaged surface material and creates a consistent base. The finishing system then protects that timber while determining much of the final colour, sheen and maintenance requirement.
For Australian homes, the best approach also considers timber species, climate, moisture movement, flooring construction, dust control and coating compatibility. Most importantly, not every tired-looking floor requires aggressive sanding. Sometimes a timely recoat is the more appropriate option.
Before booking work, identify your flooring type, understand why sanding is being recommended, compare coating options and obtain clear drying, curing and maintenance instructions.
If you are planning to restore timber flooring in South-East Queensland, explore Enviro Floors’ timber floor restoration services and arrange an assessment based on the actual condition and construction of your floor.